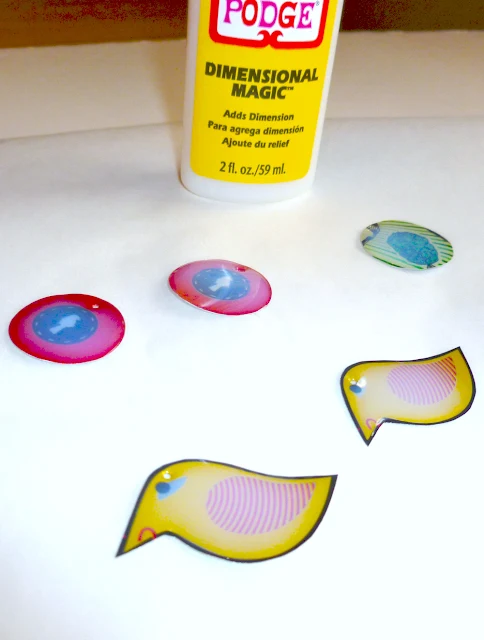
Here's the first of the Finch's Threadless tutorials... super-simple earrings! I'll also cover the basics of working with aluminum cans (in my limited experience!).
What you need:
1. Good kitchen shears/scissors. I didn't need special metal sheers
2. A circle cutter, if you want to make a lot of "beads". I got one for $9 at a craft supply store - nothing fancy. It worked beautifully
3. A nail file. The edges were, in general, much less sharp than I was expecting. But some definitely needed filing down a little
4. To make holes in pieces for jump hoops etc: A large safety pin and a piece of foam board. The pin went through quite easily and pushing down into the board kept the "bead" flat
5. A permanent marker
5. Mod Podge dimensional magic. This isn't essential but I saw it used here and liked the look. I also now know that it gives the pieces a little more substance so they hang better
Cut the top and bottom off the can. I just jabbed a hole in the barcode near the bottom of the can, then cut around the edge. Cut up the side, then around the top. Watch your hands - you're working at a weird angle and it's the only time I was worried about cutting myself. Craft Lady uses a can opener to get the top and bottom off - something to consider. Then, if you're using a circle punch, position it where you want it and push down on a hard surface. Voila, beads!
File the edges down, if necessary. File away from the color, so you're creating a slightly rounded edge toward the back. Lay the bead down flat on the foam board and push the pin through. If you can't find a sharp pin that's thick enough, consider using a small nail and hammer ... again, use the foam board for this.
Ideally, you want to make all the holes before applying the dimensional magic. In most cases, this is easy. For the intricate, geometric necklace (the final tutorial), I ultimately had to make some holes through the dimensional magic. This created air bubbles so the finish is less than perfect. This stuff is easy to apply. If anything, too easy. As I got used to using it, I worked much faster and put on less - a little goes a long way in terms of creating the effect. It takes about three hours to dry.
As you start working with the beads, be prepared to push the pin through the holes again.
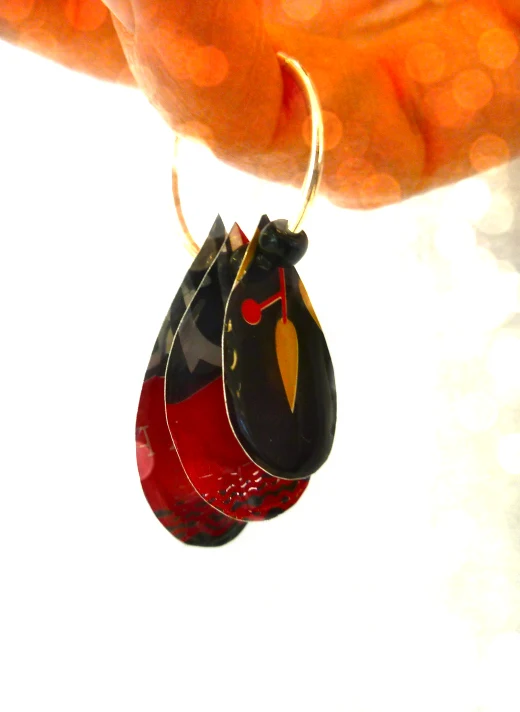
And here are the simple Finch's hoops. I love the bird so I wanted at least one piece that was really clean to show them off.
Then I wanted to try Betsy's teardrop earrings using a different material. My friend Betsy (of Foxglove Accessories) creates jewelry using vintage postage stamps. Last year she posted a teardrop earring tutorial here (click to see it). To make the Finch's teardrops, I used her printable template (download here), slightly bigger beads and slightly thicker hoops. Alternate teardrop pieces and beads on the hoop and you're done.
Want instructions for making a pin (brooch), pendant or statement necklace? Follow this link ...


Add your comment