Snowed in with kids? Wondering what to do with the gloves they've outgrown? Here's a cute, simple craft that will kill a little time, and encourage some basic sewing skills too! Read on to find out how to upcycle old gloves into a cute new friend.
We found this idea in an old craft book. Apologies in advance for not being able to credit the original creator.
Materials
- Pair of gloves
- needle and thread
- scissors
- toy stuffing
- 2 white buttons
- 2 colored buttons, smaller than the white ones
- black market
Instructions
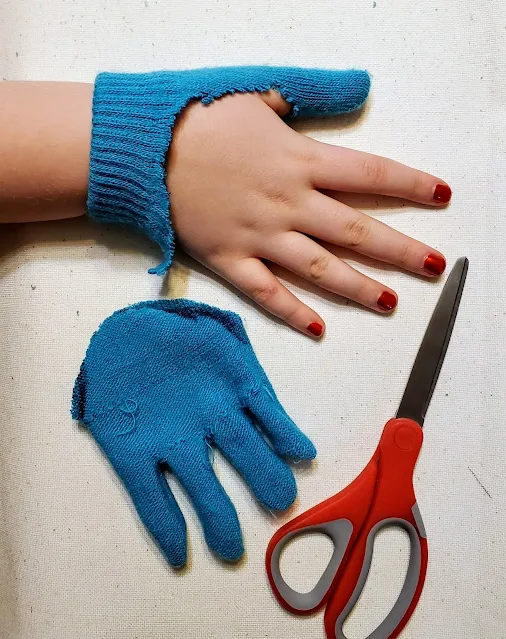
Turn the gloves inside out, then draw a curved line at the top of each glove to make a rough body shape. Carefully cut along the curved line.
Take a moment to play with the weird piece you just cut off!
Draw another curved line about 3/4 of an inch up from the fingers of each glove.
Remove the top "layer" of each glove by cutting the side seams down and along each line. Both gloves should now have one long layer and one short layer.
Now you're going to start stitching the pieces together. It's hard to show this, but you want to get the shorter layers on the inside.
Using a running stitch, sew the gloves together.
Sew around the edges, starting and ending just above the fingers.
Open out the gloves, as shown above. Sew together the section between the fingers with a running stitch. Leave a 3/4 inch gap at one end for the stuffing.
Turn the gloves right side out so that the stitching is hidden.
Fill your octopus with stuffing, then close up the gap using a running stitch.
To finish, sew on some button eyes. Stitch the bigger white buttons on first.
And then perch her somewhere comfortable. She quite likes shoulders.


Add your comment