the ReFab Diaries
I'm still thinking about smoothing rough edges ... in this case sharp, metal edges.  Considering the quantities of soda/beer consumed across the planet, it's safe to say we're drowning in the cans.  And the idea of re-using them is appealing, especially for jewelry! But what about all those sharp edges? Apparently, there are ways to smooth them, make them safe.... bring out a softer side.  Here goes ...


Great, detailed how-to for these sweet metal flowers ... not designed to be worn so no worries about those edges, except in the making.


This is NOT a new or original idea ... however, when I saw the instructions I realized I never did find out how it's done.  So, in case you'd like to melt your copy of "Rock me Amadeus", here's how!


My guitar was my great love from around age 10 until a few years ago, when a bum wrist forced me to hang it up. I know I've thrown out miles of old strings along the way - what did I know?!  Anyways, when I stumbled upon Stringcycle about 4 years ago, I was smitten for obvious reasons... and my "musical bouquet" has been in a vase on my dining-room table ever since (these babies don't wilt!). On a whim, I asked Julia if she'd be interested in doing some kind of stringcycle demo for me.  When she agreed I believe I did a little dance.

So, I'm beyond excited that today, I get to introduce Julia Friend as my first-ever guest blogger.... and, along with you lovely folk, finally learn how to make her tuneful blooms!


Julia gives a second life to used strings rescued from musical friends and instrument repair shops.  Why instrument strings?  "Because they're beautiful and infinitely useful!" Julia's a fan of homemade music and most things DIY, especially when it involves reclaiming used materials. She's been crafting with instrument strings for a decade, on and off, and sells her work at music festivals, craft fairs and on Etsy.  She stays on her toes by "refining designs to accent the properties of the strings and display good craftsmanship".  Be sure to check out all the beautiful pieces in her store or through Facebook ...  {Tutorial after the jump!}


Please note the little car?  Wonderful, whimsical idea ... get the how-to here.

Mmmm... love this.  A little 14 gauge galvanized wire, a little time. Go make it


Winter in the midwest is long ... when you have a kid, it's interminable. I had no idea!!  So we asked relatives to get us a membership to the Chicago Children's Museum (good way to minimize how much stuff we got for her first birthday).  We figured it would help us get out of the house and give the wee person a place to run around and be crazy.  We thought we were being pretty smart at the time.  With hindsight, it was a genius decision!  I love the place.  It's welcoming, stimulating and, above all, constantly surprising.  Since the focus is on tactile experience, we spend a lot of time *doing* stuff.  But the last time we were there, I spent some time just looking ... and guess what I saw?  Repurposing, recycling and ingenius refashioning everywhere!  So here's a taste.


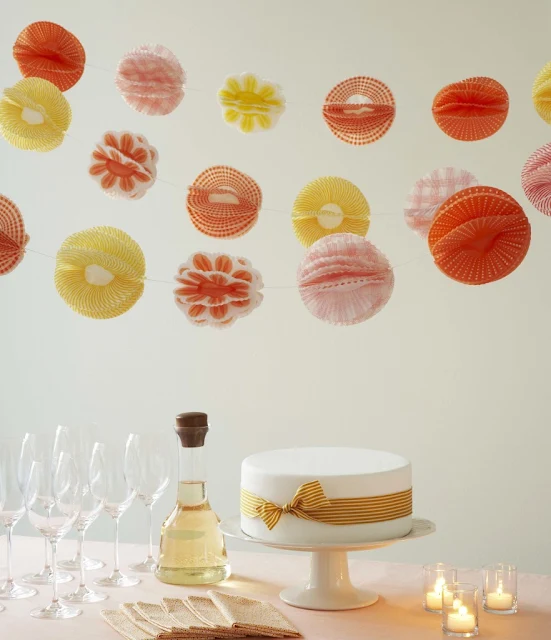
I'm starting to think about the summer ... and someone's 2nd birthday.  I, naively, bought a bunch of liners last year then ended up not using them because they looked awful when they came out of the oven.  This garland would a great way to use them up!

You already know how this is going to start right?  Once, way back, when I had a little more time than money, I turned old books into clocks.  I was honored to be able to sell them at The Armadillo's Pillow for a few years!  When I set out, there were no online tutorials to be found so there was a lot of trial and error involved.  The first one was so much work, I kept it ... still hangs on the wall in my home even though it's quite plain (see the last image in this post).  Now ...well, it didn't take very long to find, not one, but six really good tutorials to feature here.
© the ReFab Diaries · THEME BY WATDESIGNEXPRESS
–>